Intel Forensics Build
R
Design Methodology
In my last post we designed and built an AMD based forensics workstation, and today we will spend some time designing an Intel based workstation instead, for those who don't like the AMD platform, or have money to burn.
I recently switched back to an Intel x86 based Windows 11 desktop myself, and the experience as a developer has been good so far, over the past few weeks, albeit not as efficient as using my Mac mini, but not a bad experience overall, except dark mode isn't available in every app?
This post however isn't about Apple or Mac, it's about my design process for x86 based workhorses. Just like last time, I will briefly explain my design methodology, why I go about a particular design method, and some general tips on how I settle on a design pattern for myself, and my clientele. Let's jump right into it.
Method preview
For my custom-builds, for all my customers I use the latest and greatest tested components, sourced and purchased from reputable suppliers, I don't cut corners to save a buck. I do however put a lot of research into product cost factors, based on market fluctuations, and usually mention in my quotes that market fluctuations happen, sometimes hardware can go up and down in price rather quickly, I always leave about a 20% buffer into my quotes for this variation.
System design
When I design a system step one is to ask myself or the customer, what is your goal for this system? Based on the response, the next question is probably the most important factor, what is your budget? From here we can proceed to the design phase, where I spend a good amount of time comparing prices, specs and product availability. For the purposes of this post, we will hypothetically lay out the schema for a forensics workstation based on the INTEL platform.
System Schema
Previously we started our build with the motherboard this is my normal approach, but this time however we will start with the CPU, as we picked a CPU in our previous build, and I tried to match it as close as possible, with specs, availability and price.
Schema
- CPU
- CPU Cooler
- Motherboard
- Memory
- Storage
- Video Card(s)
- Case
- Power Supply
- Case Fan(s)
Ok, now that's out of the way, how do I make a mock-up for clientele?, I use PCPARTPICKER, you can easily compare pricing, and share with your customers within seconds. Keep in mind builds are public.
Alright let's go through a sample build for a forensics workstation, with a fairly aggressive budget, and some future proofing options.
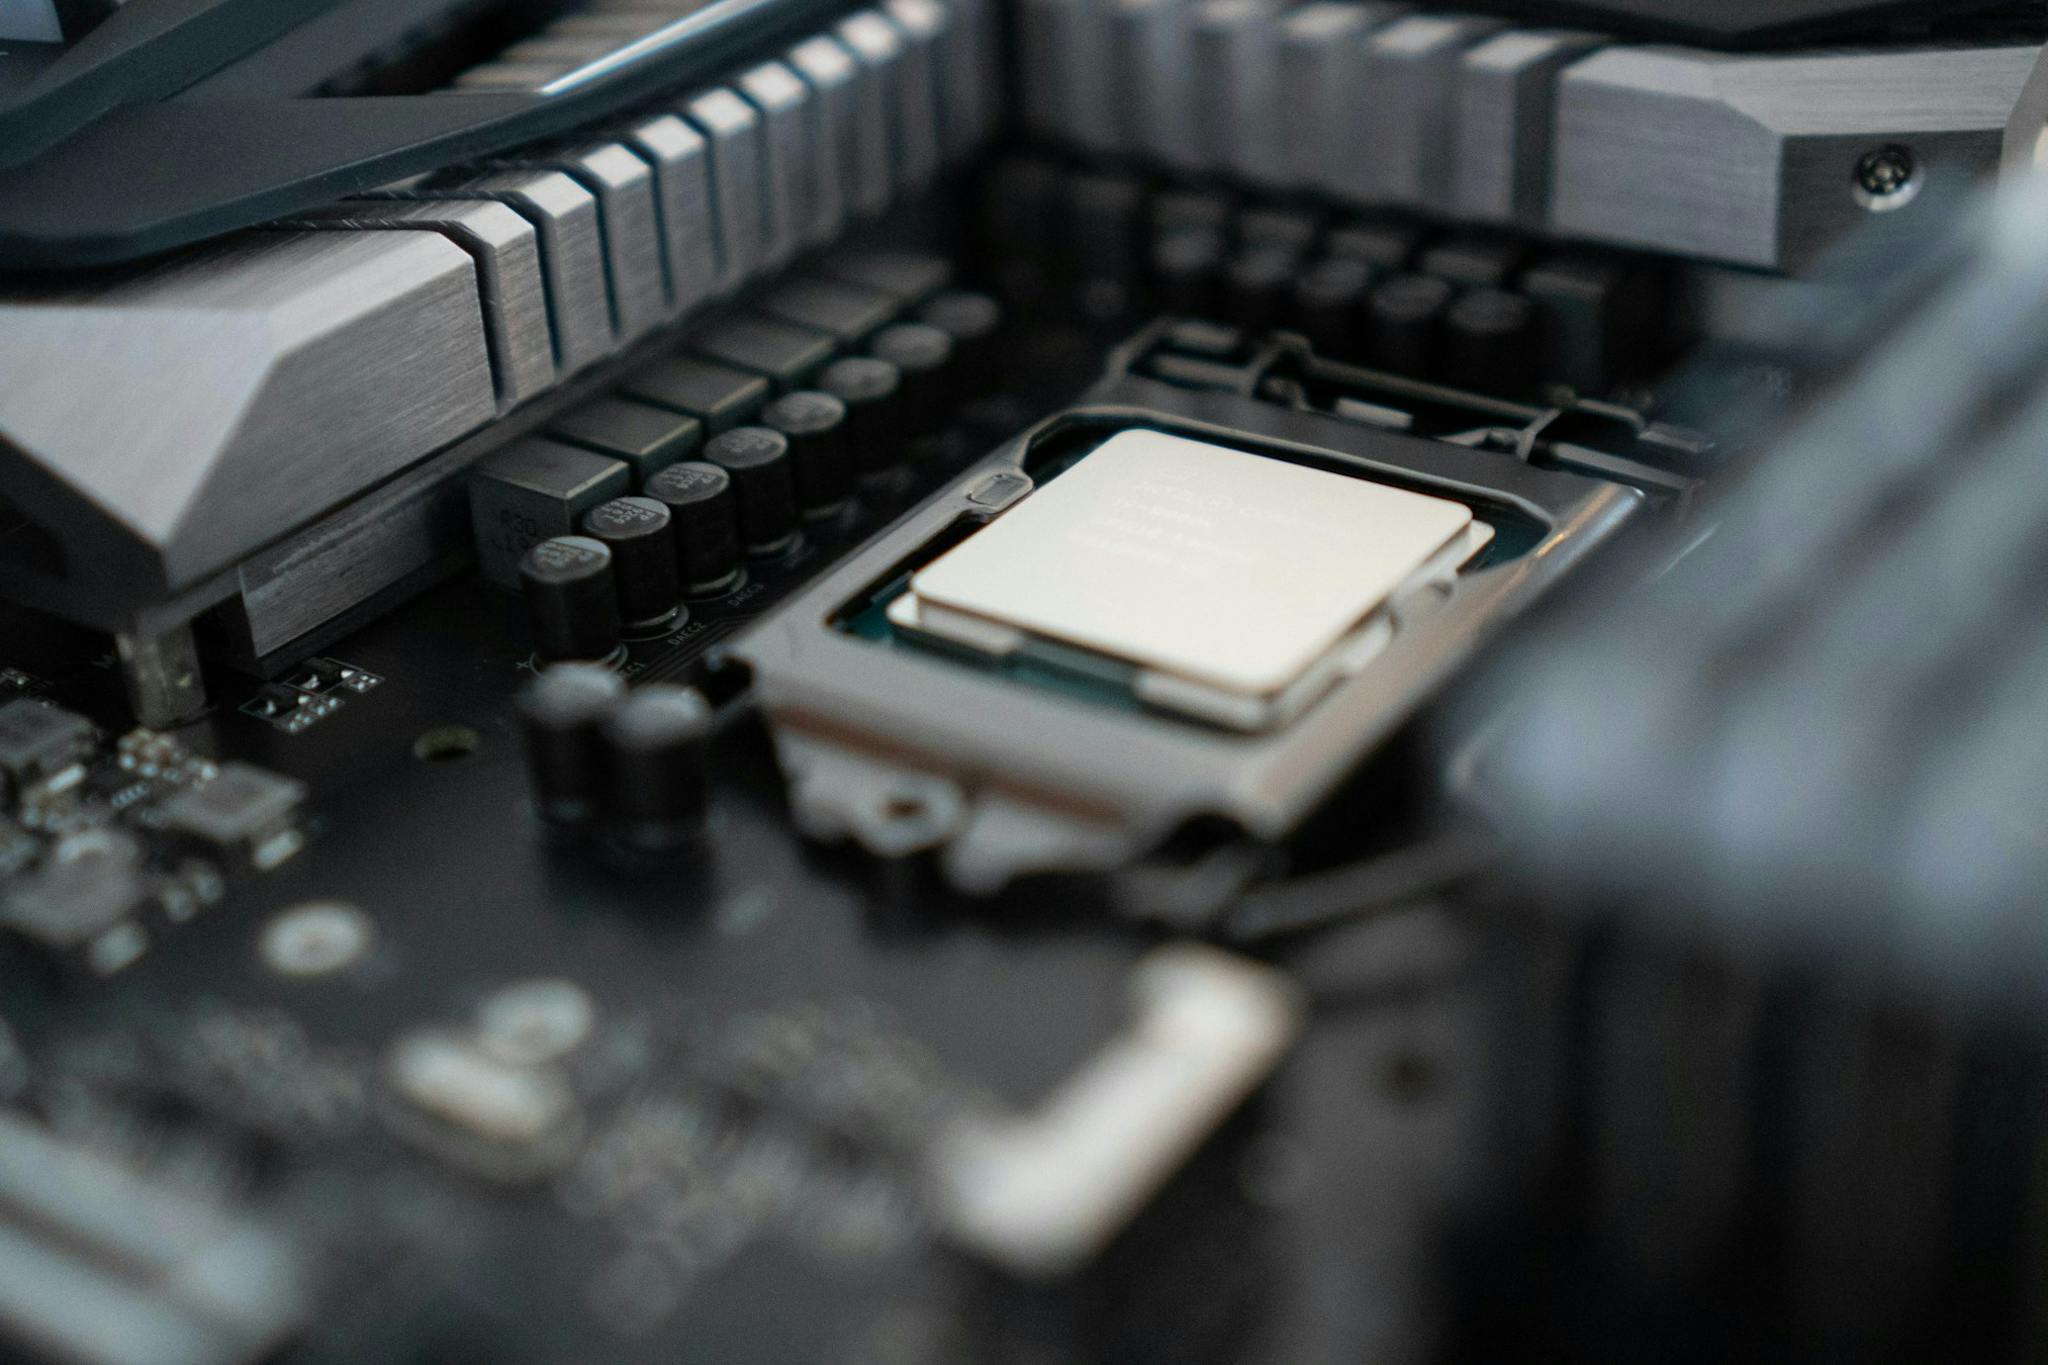
CPU
Intel Core i9-12900KS specs.
- Total Cores 16
- Total threads 24
- TDP 241W
- Performance-core Base Frequency 3.40 GHz
- Efficient-core Base Frequency 2.50 GHz
- Max Turbo frequency 5.5 GHz
- PCIe 5.0 and 4.0
- DDR 4 up to 3200MHz
- DDR 5 memory support
This CPU seems to be the best 'newest' and closest option in comparison to the previously chosen CPU.
$713.99 CAD
Water cooling
I have always built my PC's with water-cooling, more specifically an AIO, "AiO" stands for "All in One", which means that you'll get a complete package, consisting of radiator, fan, pump, tubes and cooling unit, which reliably cools your CPU, and keeps your workspace quiet. Unless the client want's a custom loop, usually though for simplicity, I go with an AIO. Just like the other components, from my testing I stick with a particular brand that I've put through the paces, and have always been happy with. EVGA
For our build since the CPU is an absolute "Unit", I chose the EVGA CLC 360mm All-In-One, same as last time. EVGA has an awesome warranty process, and I've had great success with their products, and returns/replacements.
Notable mentions,
- 100% copper pad
- Max 20dB(A) pump noise
- Aluminum radiator
- 3x 120x120x25mm fans
- Quiet out of the box
- 5-Year Warranty.
$128.35 CAD
Motherboard
I tend to stick with a few brands, that over the years have served me and my clients well. Usually I go with Asus, or Gigabyte.
A workstation specific board, wasn't readily available for our build, so we went with the next best thing.
For this build Z690 AORUS XTREME
What makes this motherboard stand out?
- LGA1700 socket: Support for 12th Gen
- 2 x Intel® Thunderbolt™ 4 connectors
- 10GbE LAN chip
- 4 x PCIe 4.0 M.2 Connectors
- 20 VCORE Phases
- PCIe 5.0
- DDR5 XMP Up to 6600MHz, supporting up to 128 GB
- WIFI 6E
- Support for Windows 11 64-bit
There is a warning on the PCPARTPICKER site with this board/CPU combo
The Gigabyte Z690 AORUS XTREME EATX LGA1700 Motherboard supports the Intel Core i9-12900KS 3.4 GHz 16-Core Processor with BIOS version F7d. If the motherboard is using an older BIOS version, upgrading the BIOS will be necessary to support the CPU.
Once you upgrade the BIOS, everything is perfectly fine, so don't forget to do that, if you build something similar.
$899.99 CAD
Memory
This motherboard supports DDR5 memory, we will be going with 2 pairs of DOMINATOR® PLATINUM RGB 64GB (2x32GB) DDR5 DRAM 5200MHz C38 Memory Kit — Black, I know it has RGB, but it's the best you can get for this board right now. 128 Gb total
$919.98 CAD
Storage
For my host OS I always go with a fast booting, high I/O NVME SSD, and for this build I will go with the 980 PRO PCIe® 4.0 NVMe™ SSD 1TB, same as last time. I've had excellent performance and durability under extreme conditions with Samsung drives, and in my opinion are the best. Samsung says "Genuine PCIe 4.0 NVMe® speed (up to 7,000/5,000MB/s for read/write speed)" and that's great. I will add this on the list, and select a few additional drives.
$124.99 CAD
Additional drives, I usually advise on an additional SSD for Virtual machines or games, software etc. So for a secondary drive I usually name Data, I'll select 870 EVO SATA 2.5" SSD 2TB, good amount of space for virtual machines, V-NAND with 530MB/s Seq. Write. Excellent. I'll add this to the list and an additional drive that's not required, but recommended.
$179.99 CAD
For the final drive, I like to have a good solid backup drive, and while this is optional, believe me you want backups. I know I like backups, the more, the merrier. For my backup drive, I have had great success with WD Red Pro NAS Hard Drive, excellent transfer speeds, at time comparable to a cheaper SSD. Four our build I've opted for a 6TB model.
$179.99 CAD
The storage choices are basically the same as last time, to keep the build somewhat consistent.
Video Card
For some builds a video card may not be required, but since last time we added a card to our build, let's pick what's available today. Last time we chose a EVGA card, but since they will no longer be making video cards, today I'll go with MSI.
GeForce RTX™ 3090 Ti SUPRIM X 24G
- 1950 MHz
- 24GB GDDR6X
- 4K 120Hz
$1049.99 CAD
Case
Now cases are really a personal preference, and everyone has their favorite. For our build though, we want motherboard and water-cooling compatibility, for this reason going with another one of my all-time favorite brands, Phanteks ENTHOO 719. This case is beautifully built and really completes this system.
At 9.45 in x 22.6 in x 23.6 inches this Full tower Chassis is a beast. This case even supports two completely independent builds, with two motherboards and two power supplies, we used the same case in the last build.
$219.99
Power supply
Another item that I normally do not cheap out on is the power supply. Next to the Motherboard your system can't run without it, and for efficiency the higher grade you go, the better. For this reason and future proofing, I selected the EVGA SuperNOVA 1600 T2, 80+ TITANIUM 1600W. Key features,
- 10-Year Warranty
- ECO mode, under low load the fans shut off
- 94% Efficiency
- Fully modular
- 100% Japanese Capacitors
- Standard ATX form factor size
- 1600W @ +50C
- High quality braided cables
I've been using these for years, and they are super awesome. Never had one fail. I recommend buying directly from EVGA, unless locally available. This is basically the best power supply you can get, current pricing is a steal. Our estimated wattage not including the CPU or any additional drives or video cards is 689W, so you see a power supply of this size, can definitely get used up pretty quick. We also used this power supply in the last build.
$349.99 CAD
Case fans
In some cases you may need better fans, to be completely honest with you, the fans included in this build would more than suffice. I Will add my recommended fans, but not include them in the price as it's completely un-necessary, if you do decide to grab some fans, checkout ML120 PRO 120mm PWM Premium Magnetic Levitation Fan.
Summary
This is an amazing build, probably overkill for the everyday user, however for a professional developer, content creator or forensics analyst, and (gamer) this machine would be a great starting point. I would consider this slightly above a base model for a professional workstation in a high output lab, especially if it would be running 24/7, say processing, copying drive images, or a data recovery rig, hash cracking machine etc.
A summary on Intel-workstation
Our build cost before taxes and shipping is $4767.25 CAD, and that is not too bad considering the gear we have here. If you are interested in a build like this for your lab, drop me a line Ryd3v, I ship internationally, and provide 1 year of technical support for each system I build.
Did you like this article? Drop me a line on Twitter, @ryd3v